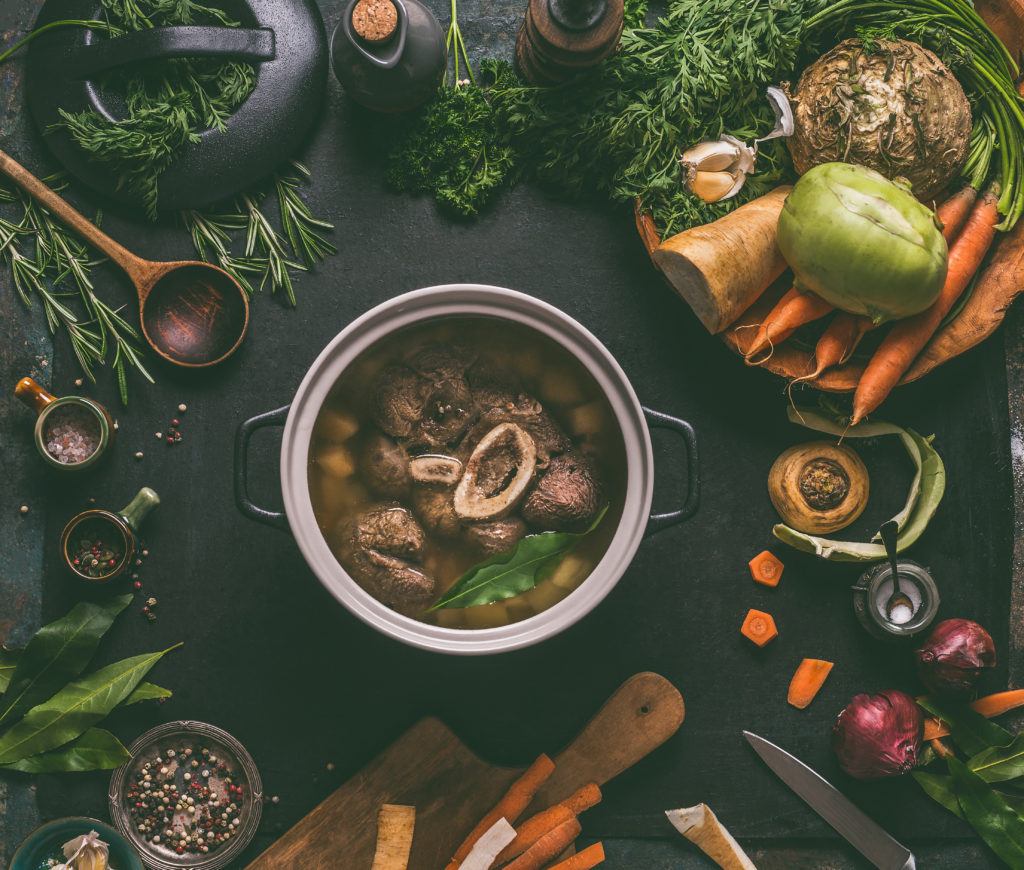
How To Make Bone Broth: 7 Steps for Bone Broth Success
Bone broth is a pretty popular health craze and has continued to grow in popularity over the past several years thanks to its purported health benefits and savoury deliciousness.
But how exactly does one make bone broth? Do you need to do anything to the bones before you cook them? How long should you let the bones simmer?
The internet is full of information on this topic, so we thought we’d boil (pun intended) it down for you here with 7 steps for bone broth succes!
But before you start cooking, you’ll need to get some high quality bones!
Where to get high quality bones
Come try our 100% Grass-fed Beef Marrow Bones, available at all of our locations. Stock may vary by store, so send us a quick email or phone call before if you want to put some bones aside.
Once you have acquired your high quality bones, it’s time to make your own delicious & nutritious bone broth!
Step #1 – Roast Your Bones
Roasting your bones is only going to do one thing: make your broth taste better! If you’re okay with average tasting bone broth, you can skip this step, but for the extra 20-30 minutes it takes, it reaps some pretty major flavour dividends!
BonApetit.com lists this step as one of the biggest mistakes people make when making broth — they don’t roast their bones first!
How to do it:
- Preheat oven to 350F
- Get out a baking sheet or roasting pan and line it with tin foil or parchment paper
- Place your bones on the foil or paper
- Drizzle bones with a heat-stable oil like avocado oil or coconut oil (or opt for extra virgin olive oil if you prefer the “low and slow” method as it’s more susceptible to high heat)
- Bake bones for 20-30 minutes
Step #2 – Let Them Soak
Once roasted, you should allow your bones to soak in some cold water with a bit of apple cider vinegar or rice vinegar for bit.
Letting your bones soak in cold water and vinegar draws out the nutrients in the bones, allowing them to become more easily “available” once you start the boiling & simmering steps. {source}
How to do it:
- Place bones in a stockpot
- Fill with cold, preferably filtered water so water covers bones by about one inch
- Add 2 tbsps of apple cider vinegar (or rice vinegar)
- Let soak for 30 minutes at room temperature before cranking up the heat
Step #3 – Add Some Flavour
Add some nice aromatics like onions, garlic, pepper to your broth, if desired. Many recipes also recommend adding celery, carrots, bay leaves, different herbs and spices; however, if this is your first attempt at making bone broth, simple might be your best bet.
This step is certainly optional since some nicely roasted bones will provide ample flavour to the broth. In fact, Andy Baraghani of BonApetit.com actually recommends sticking with simplicity as many people try to add too much “stuff” to their bone broth, over-complicating both the process and the flavour profile.
How to do it:
- Rinse & cut up veggies of your choice (celery, onions, garlic, carrots, etc)
- Add to your stock pot along with any spices & herbs of choice
NOTE: Some veggies can break down and begin to impart bitterness rather than sweetness if left simmering with bones for too long, so some broth pros suggest adding veggies and herbs later on in the simmering process, when there’s only 6-8 hours left of simmering time. {source}
Step #4 – Bring it to a Boil It
This just might be the simplest step of them all — get your fully-loaded stockpot to a boil!
How to do it:
- Once all your ingredients are in your stockpot and finished soaking in vinegar, turn up the heat!
- Bring your pot to a rolling boil, then turn it way down — let the simmering begin!
Step #5 – Simmer Down Now
The key to a good bone broth is to let it simmer. And simmer…. and simmer.
In fact, this is the most important part of the process. Without a lengthy simmer, your broth will not extract all of the healthy proteins, vitamins and minerals from the bones.
How to do it:
There is a lot of advice as to how long you’ll want to let your broth simmer, and it also depends on the type of bones you’re using. The general rule of thumb is:
- 8 hours for fish bones
- 24 hours for chicken bones
- 24-48 hours for beef bones
Step #6 – Skim the Fat
During the first few hours of simmering, you may notice some fatty, foamy impurities that floating on the surface. These fats don’t need to be removed, but skimming them off will make for a leaner broth.
How to do it:
- Check broth every 20-30 minutes during the first 2 hours of simmering
- At each check, use a large spoon to skim off any foam accumulation
- Check again around the 3-hour mark to ensure there is no more foam, and skim off any that remains
Step #7 – Strain and Drain
Now that your simmer is complete, it’s time to set your broth free! You’ll want to remove all the bones and any other veggies/aromatics you added to the stock that remain as solids, so that all you have left is a beautiful, golden, magical elixir.
How to do it:
- Remove stockpot from heat once simmering is complete
- Remove bones with tongs or scoop out with large spoon or ladle (use next step to remove smaller remaining solids)
- Pour broth through a strainer into your final vessel of choice (mason jar, tupperware, etc)
And there you have it — you’re all set to make your own bone broth!
Good luck and happy bone brothing!


A very timely recipe for bone broth! I’ve been searching the Internet, but didnt think I’d yet found “the one”. Thank you!